We have already downloaded the Codex App. If everything went smoothly, you have also purchased a Codex subscription. Now the preparation is complete, and we can start building our first project.
Creating the first project
The latest way to create a project in Codex is shown in the figure below.
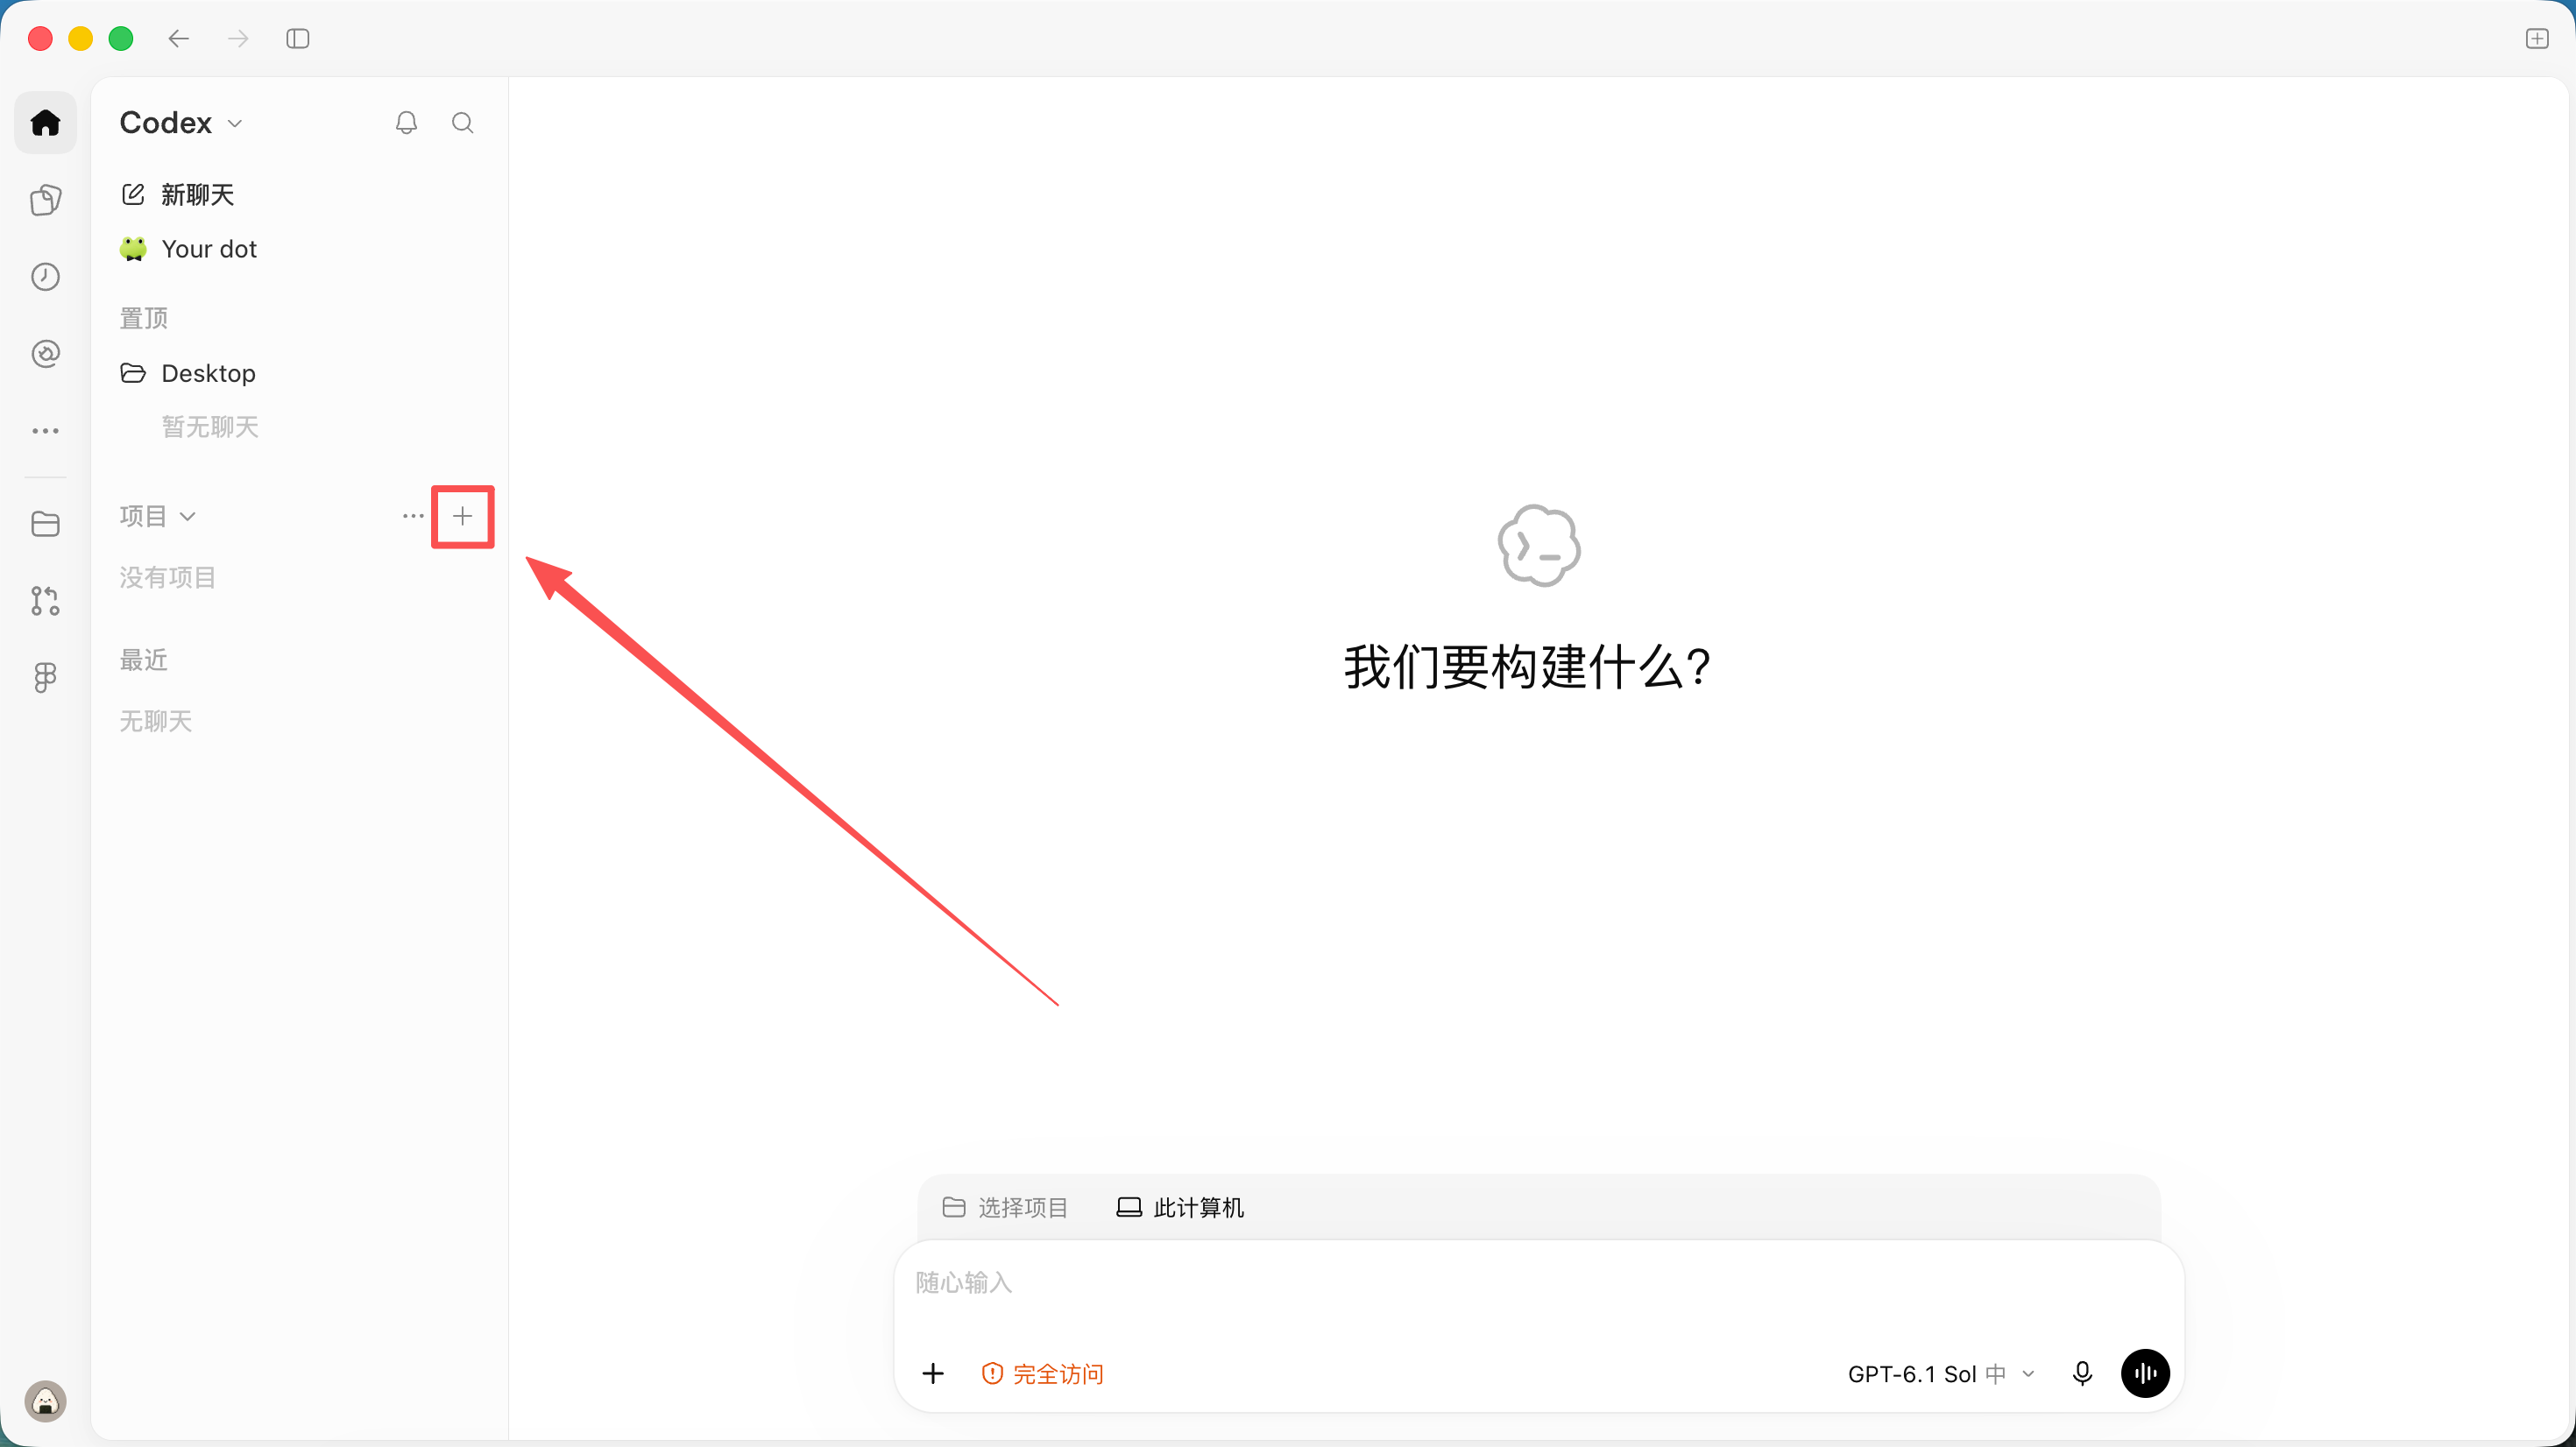
The brand-new creation method is different; it supports adding multiple folders to the same project. Click Add at the location shown in the figure below to select one or more project folders and add them to this Codex project.
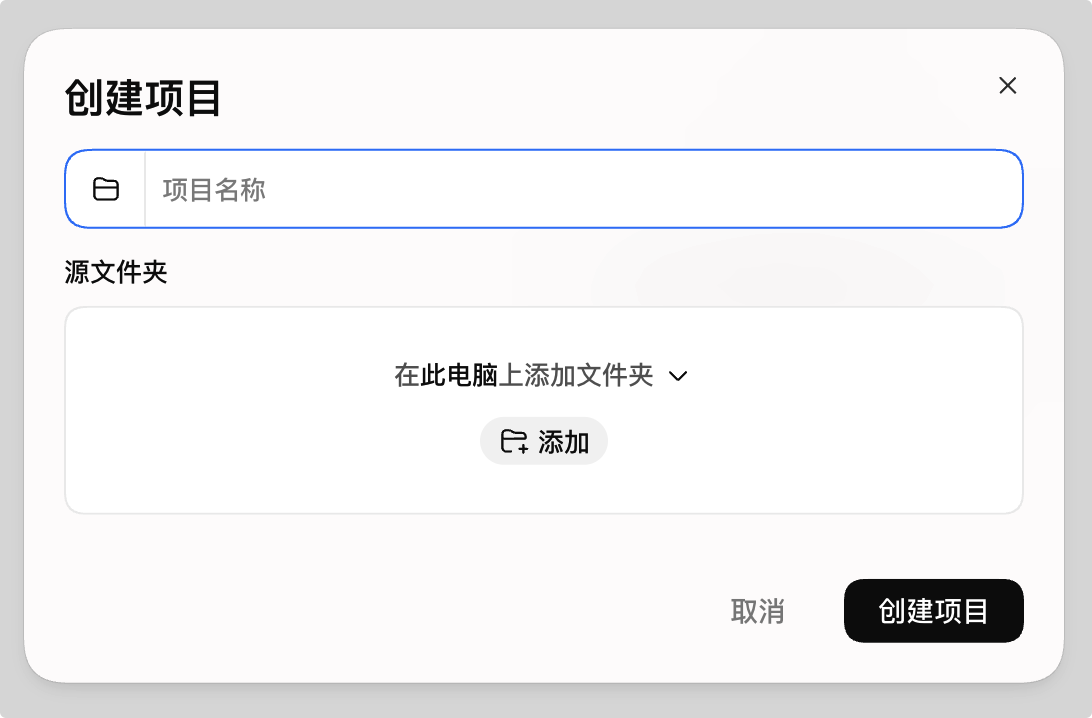
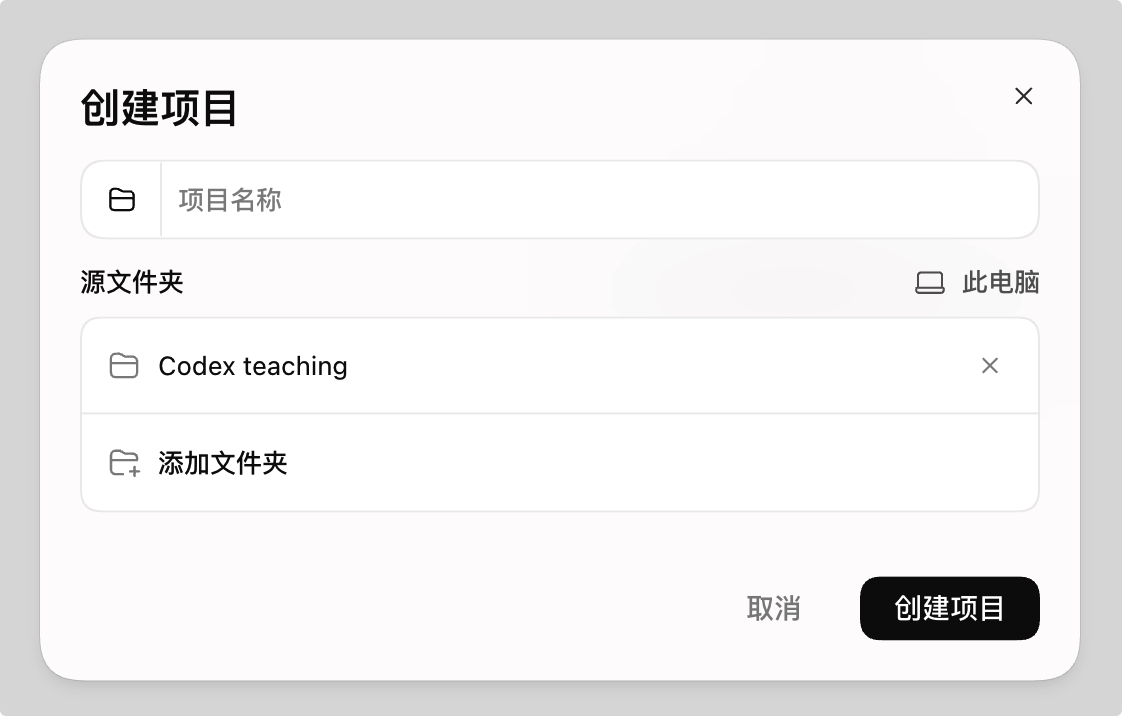
Here is some additional information:
If you chat directly, Codex does not require you to create or select a project. It will create a folder named by date in the Codex folder under the user directory, and the generated content will be placed in the corresponding folder;
You will notice that in the Add dialog above, in addition to adding folders from this computer, you can also use an SSH connection to a remote host to create a project. This is also a new feature that has only recently been supported.
Initialize the Git repository
Create using terminal commands
You can enter the following command in the terminal to initialize the Git repository.
git initSo how do you bring up the terminal in Codex? You can directly use the shortcut cmd + J to open the terminal, as shown in the figure below, and then enter the terminal command from earlier and press Enter to execute it.
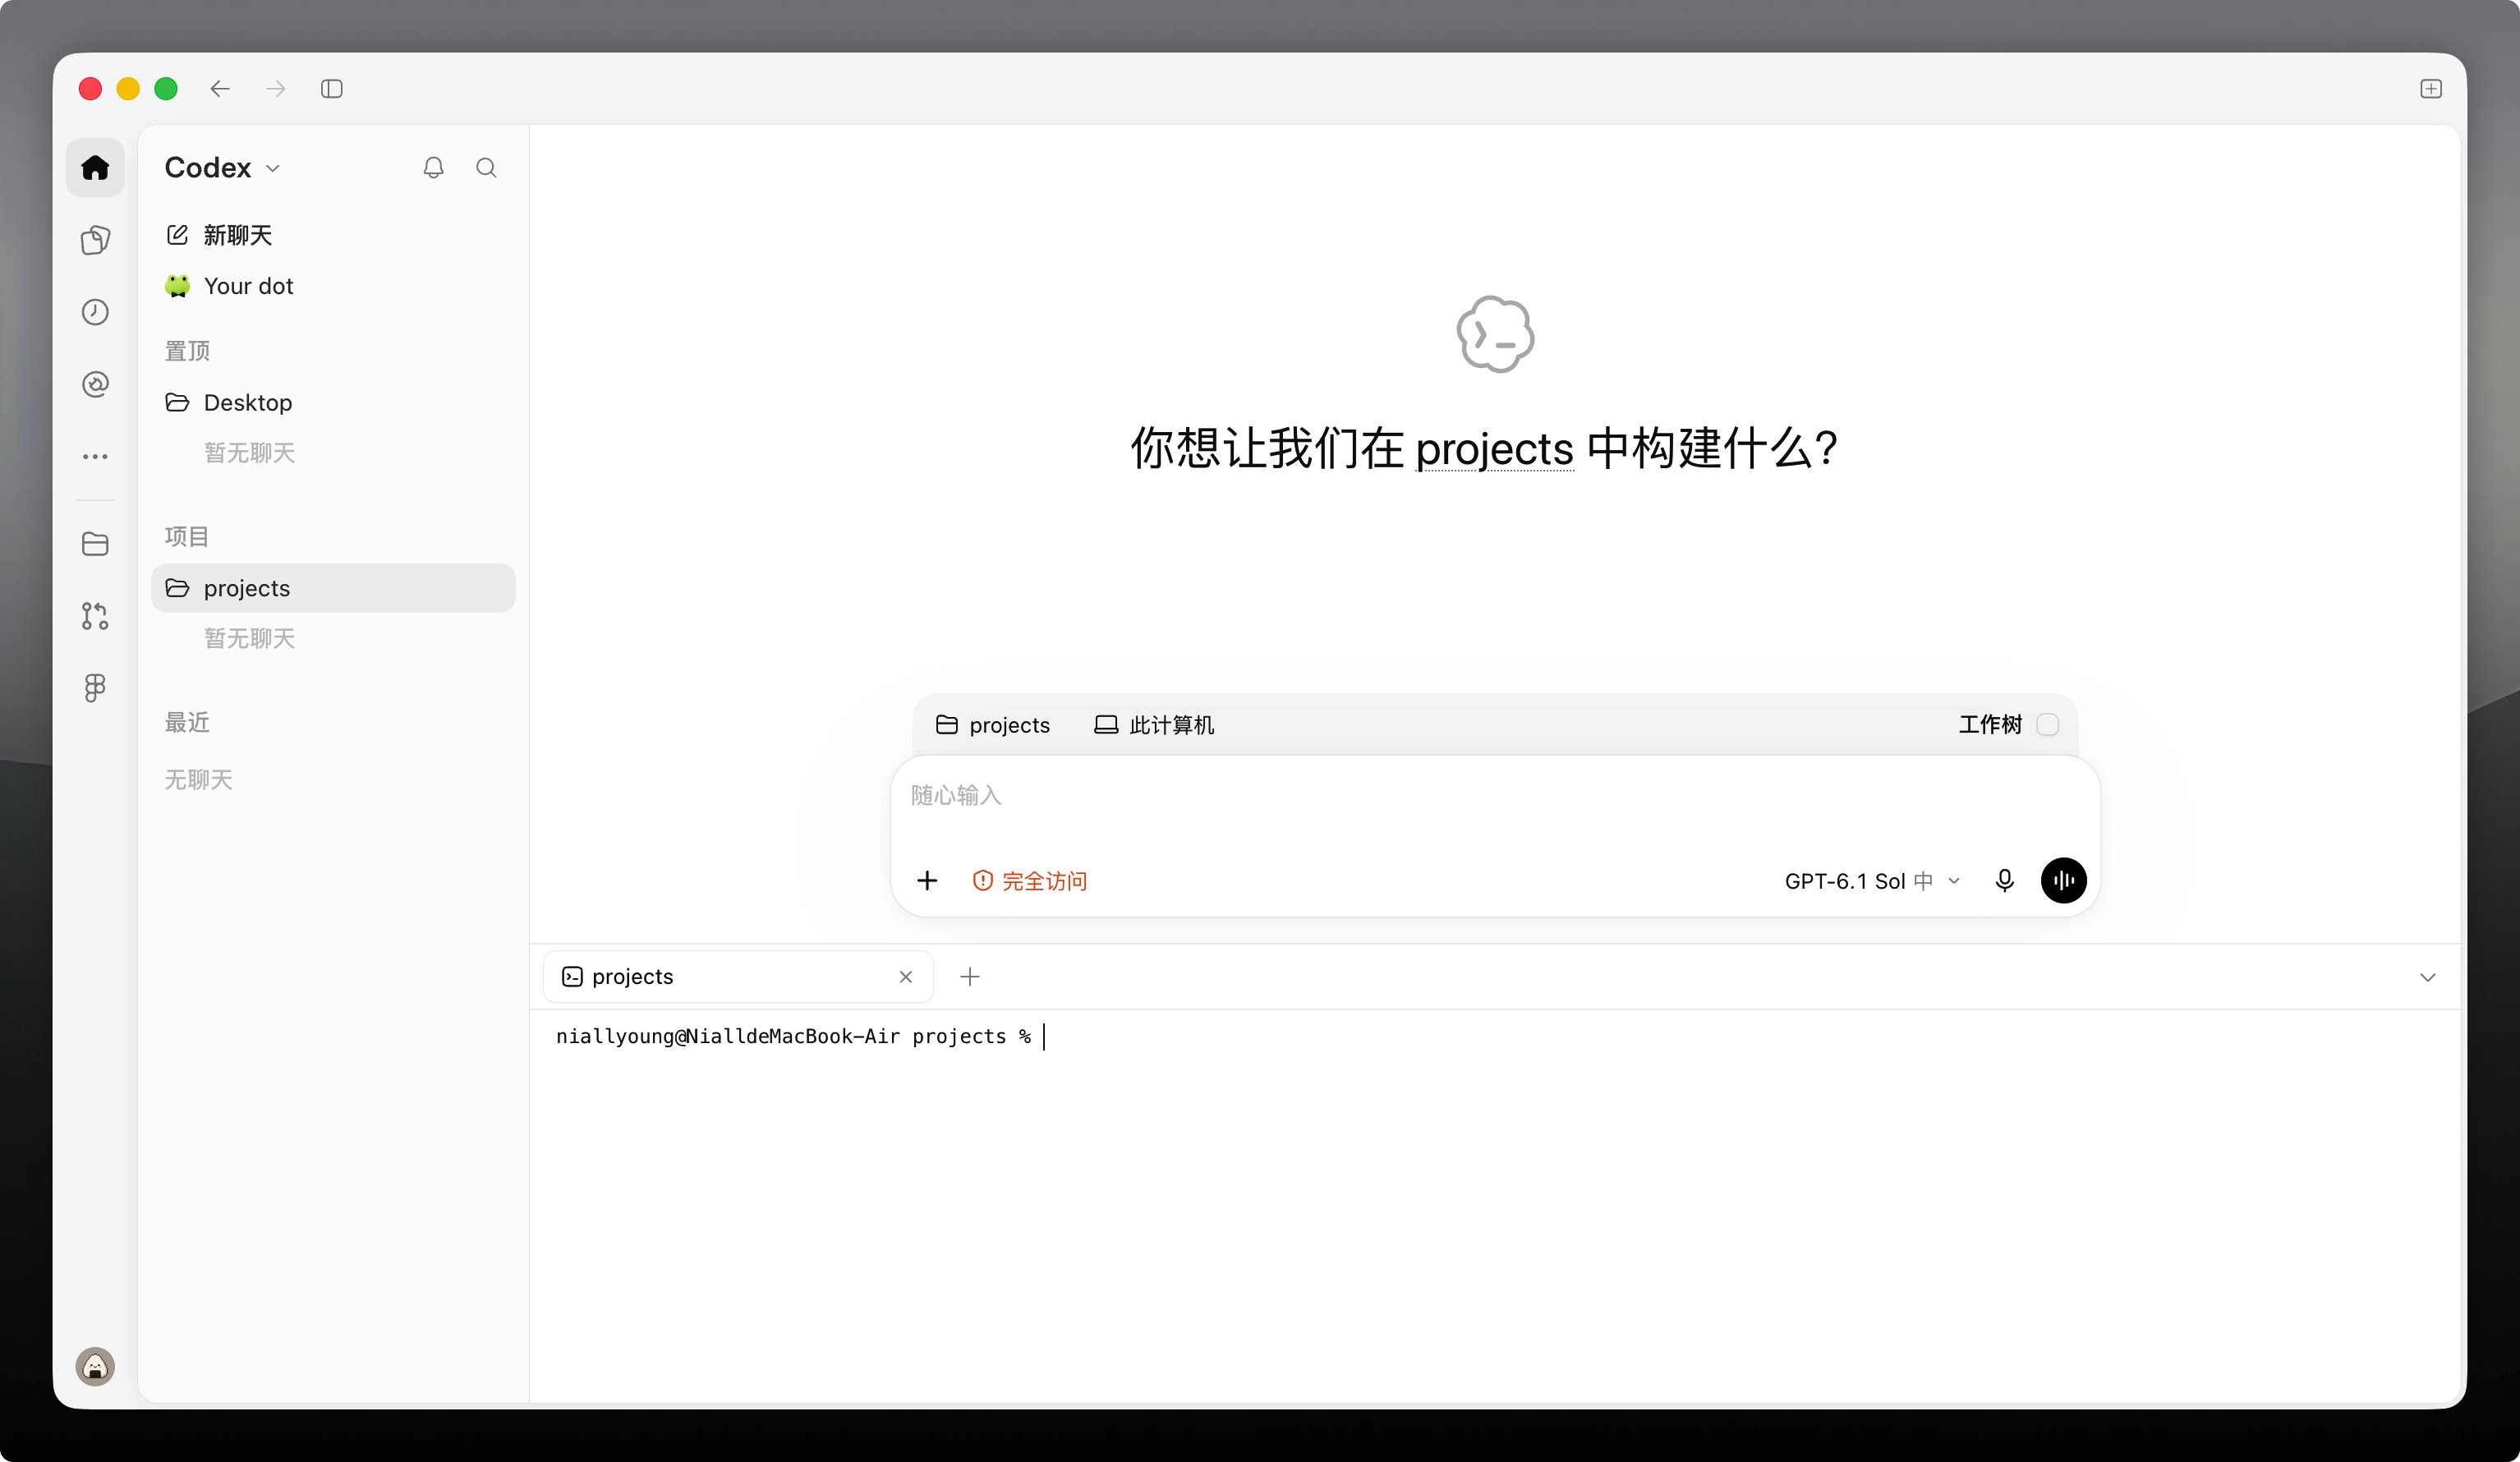
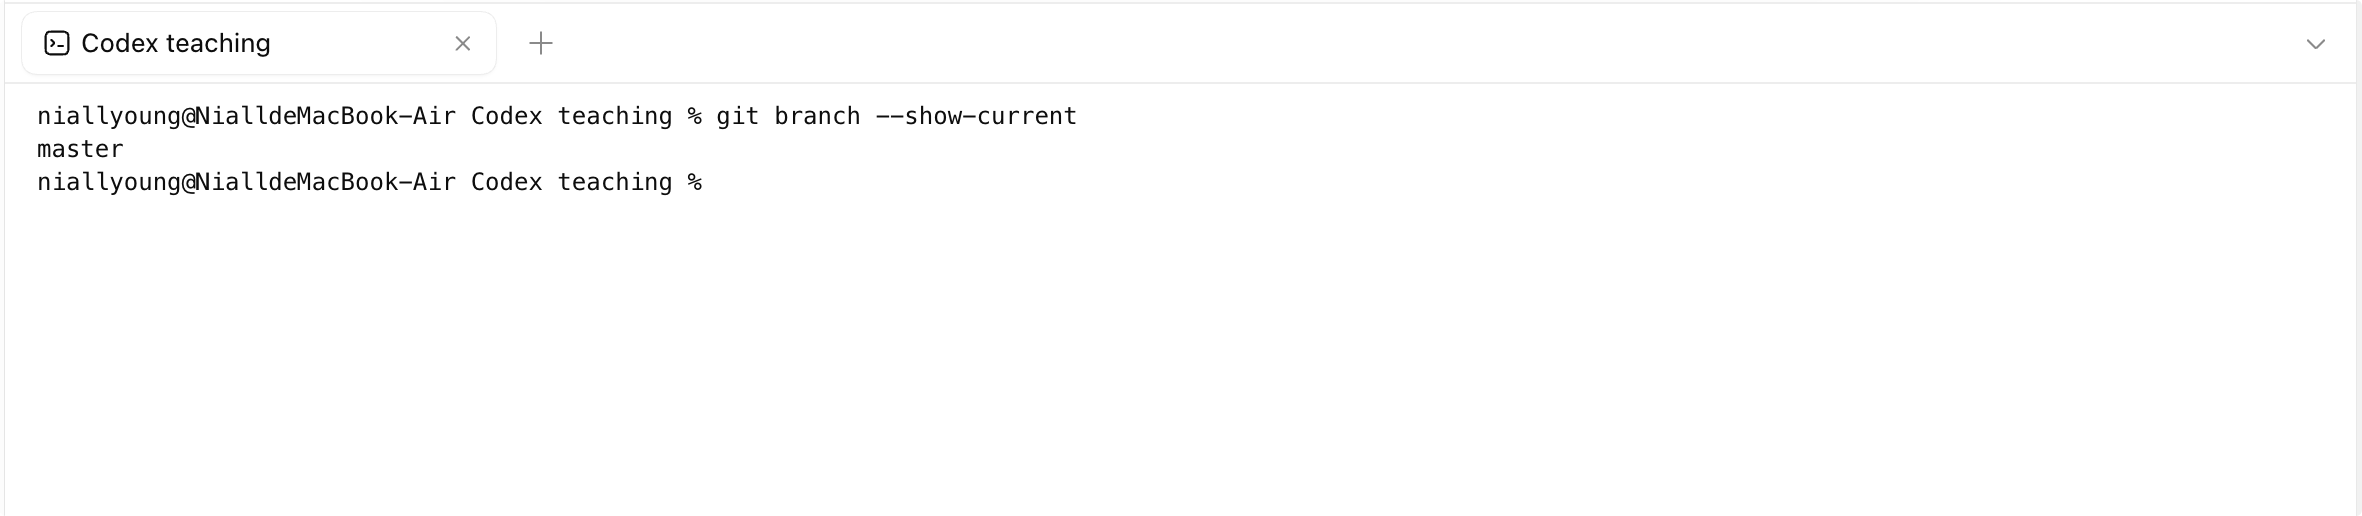
At this point, there will be a master branch by default. You can use the terminal command git branch --show-current to view the current branch, as shown in the figure below.
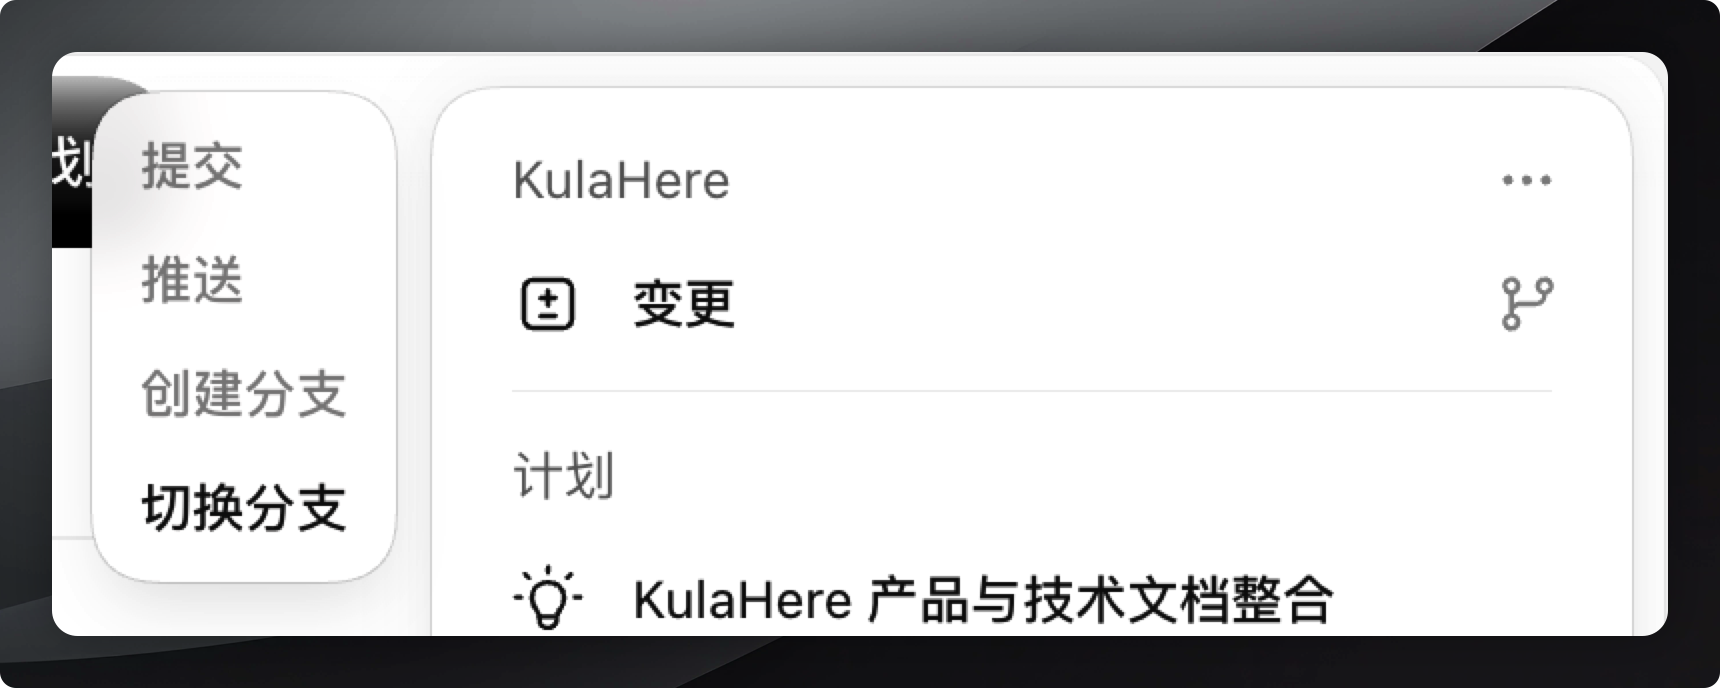
Previously, after creation, branch information was displayed directly in the GUI. On the right side under Changes, hovering on the right shows the git icon as shown in the figure. Clicking it expands the menu on the left as shown, and when switching branches you can see which branch you are currently on.
Let the AI create it directly
In addition to this method, you can also spend Tokens to let the AI do this step for you. You just need to send this message to the AI:
帮我初始化 Git 仓库,并将分支名称设为 mainStart the conversation
After completing the above operations, you can start the conversation. As shown in the figure below, just enter content directly in the input box.
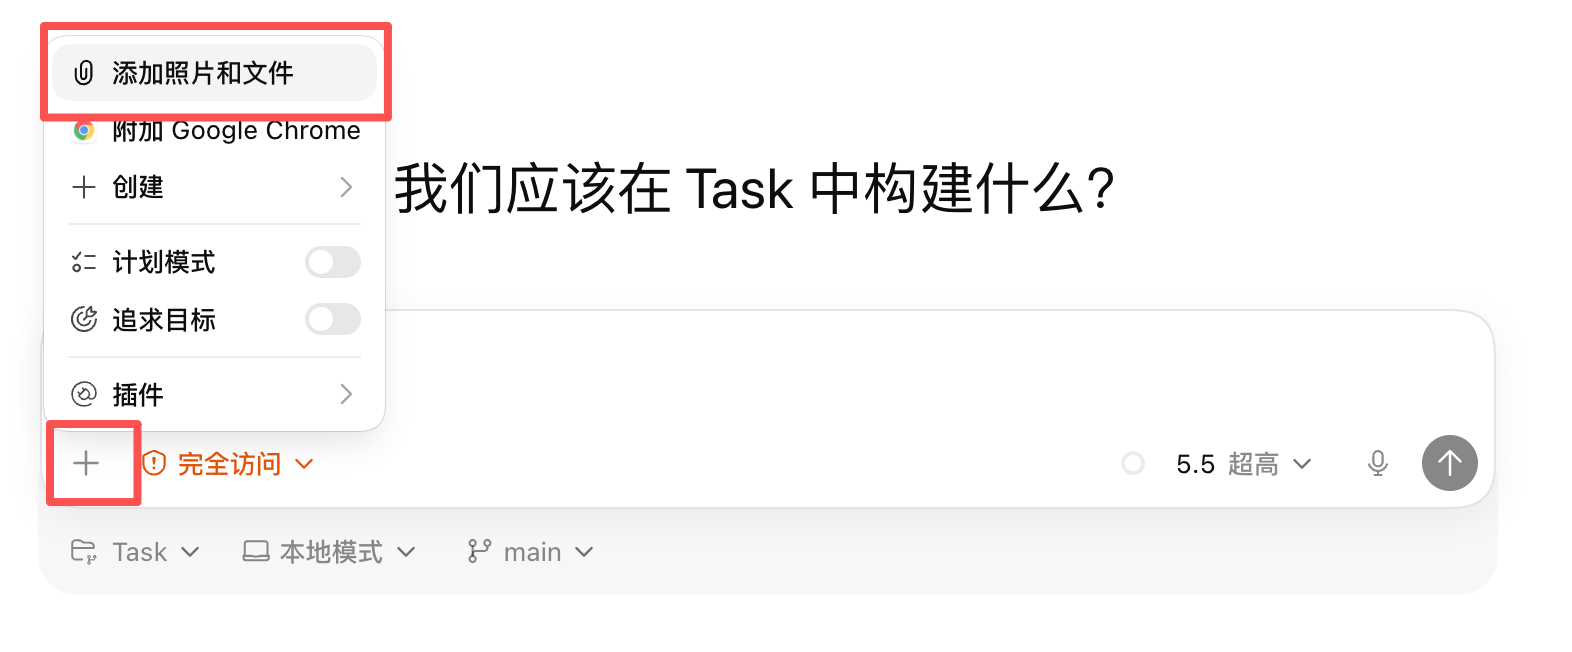
However, there are still quite a few small details in the input box that we need to introduce. First is how to upload files. As shown in the figure below, click the plus sign and select "Add photos and files" to open Finder or File Explorer, then select files. Multiple selection is supported. In addition, for screenshots and images, copying and pasting into Codex is of course also supported.
AI permissions
But there is still a detail here: you will notice that I have something like a warning called "Full access" here,and on your side it may show other options.In fact, it can be selected. Click to switch, and there are 3 types:
Safe ask: that is, every time the AI needs to perform an operation with security risks, it must ask, just like a new intern who asks about everything, and if no answer is received, it keeps waiting and does not continue execution;
Auto mode: here Codex introduces a dedicated reviewing agent. As long as the instruction is not particularly dangerous, such as deleting or moving files, it will not ask. This is semi-automatic;
Full access: that is, completely letting go. It will not ask you anything and executes directly. This is somewhat dangerous. Even if the AI deletes all your data, it will not ask, but the advantage is that it is fully automatic.
Thinking depth
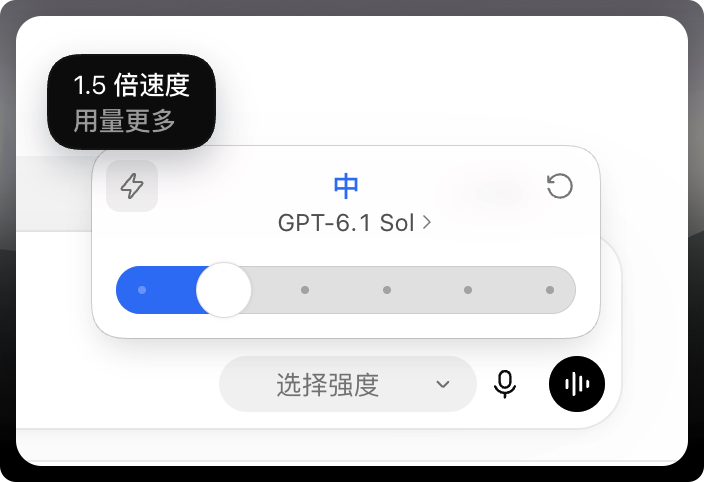
As shown in the figure below, you will definitely notice "GPT 6.1 sol" and "Medium" here. GPT 6.1 sol refers to the GPT model, and "Medium" indicates the thinking depth.
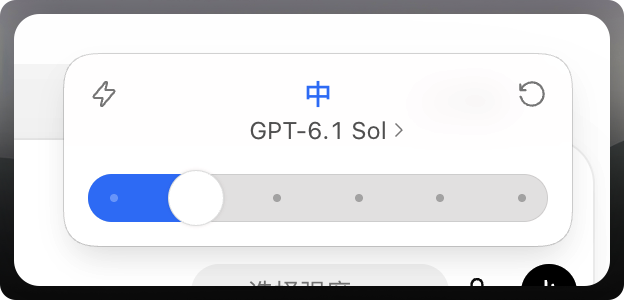
Thinking depth refers to the model's reasoning intensity. The higher it is, the longer it needs to think, just as people think more carefully about problems, but it takes more time and consumes more Tokens; the lower it is, the faster it is, but the thinking is shallower, and some complex tasks may not be completed.
As model capabilities improve,selecting "Medium" can meet the vast majority of daily needs.Only when handling very complex tasks do you need to consider "Extra high", or even "Ultra".
Response speed
You will also notice a lightning icon in the upper left corner of the figure above. It indicates the response speed, and the default is standard speed. If you are willing, you can choose fast mode. Using fast mode can increase the AI's generation speed by 1.5 times, but Token consumption will increase (the multiplier varies by model; for example, 5.5 is double, and 5.4 is 1.5 times). It is suitable for users with ample usage who pursue speed.
What's next
Now we already know how to create a project, and we have also learned how to use Git commands to initialize a repository,and we can start letting the AI help us work on projects. But when faced with a slightly more complex requirement, it is hard for us to think it through and explain it clearly in one go. What should we do about this?
68 likes
You can like once today